Using Ledger and Ledger Live
This guide will help you connect accounts from the Ledger device to the Ledger Live application to send and receive CSPR tokens.
From Ledger Live version 2.73.1, Casper accounts can be added from the Ledger hardware wallet to Ledger Live.
Prerequisites
- Configure your Ledger and the Ledger Live application as described in the Getting Started with Ledger Live article.
- Install the Casper app as described here.
Connecting to Ledger Live
This section describes using the Ledger device with the Ledger Live application and your Casper accounts.
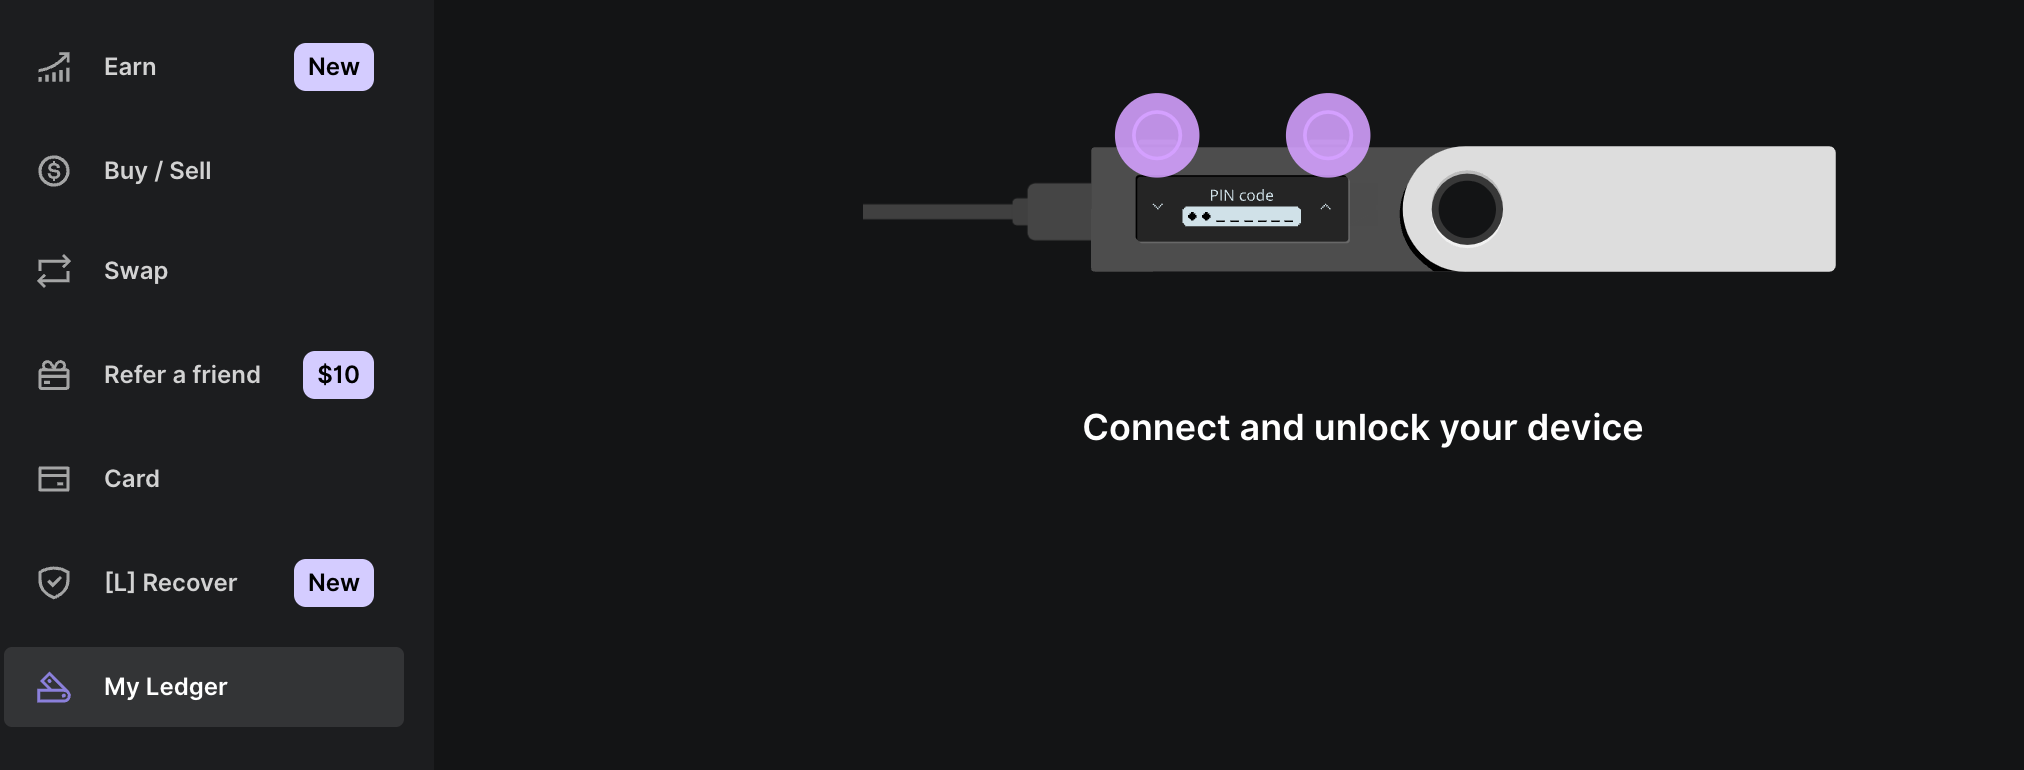
- Connect the Ledger device to your computer and unlock it by entering your device PIN.
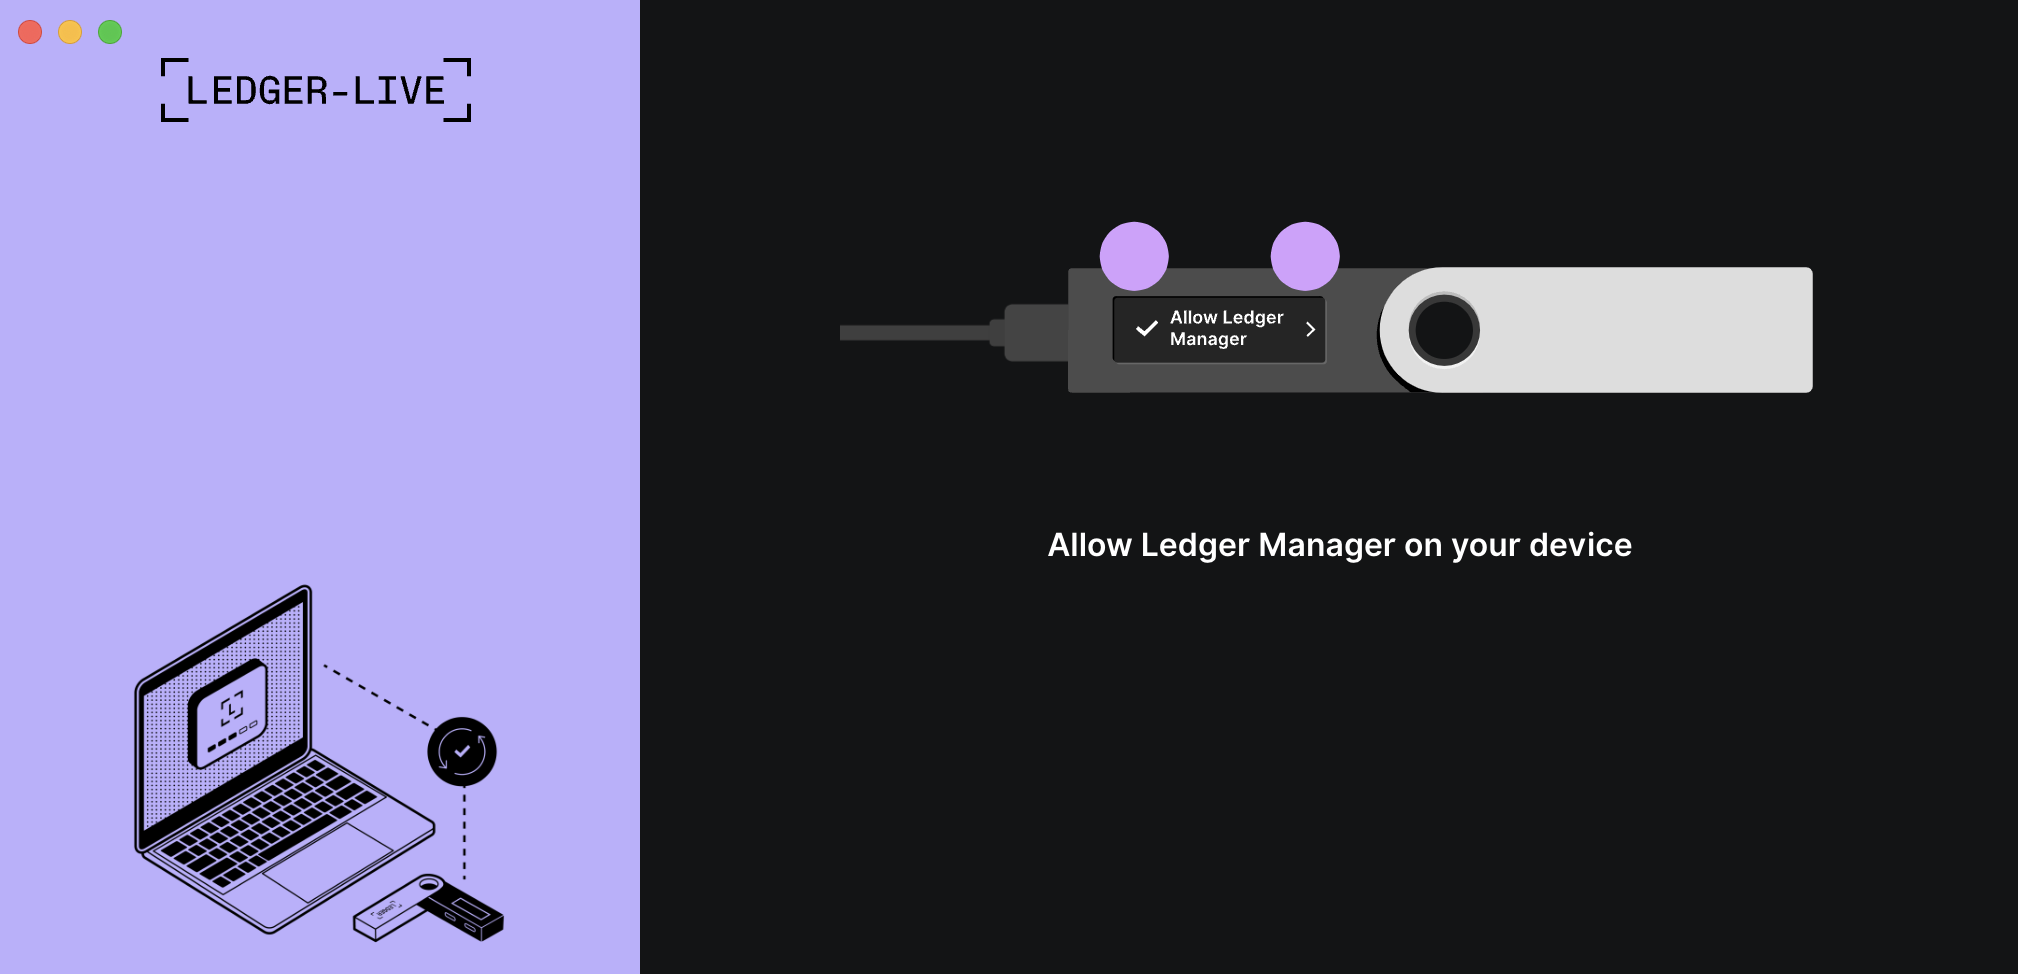
- Allow Ledger Manager to connect by clicking the two buttons on the Ledger device.
- Ledger Live will verify your Ledger device and display the following confirmation:

- Click My Ledger in the left-side navigation bar, and search for Casper or CSPR in the App catalog.
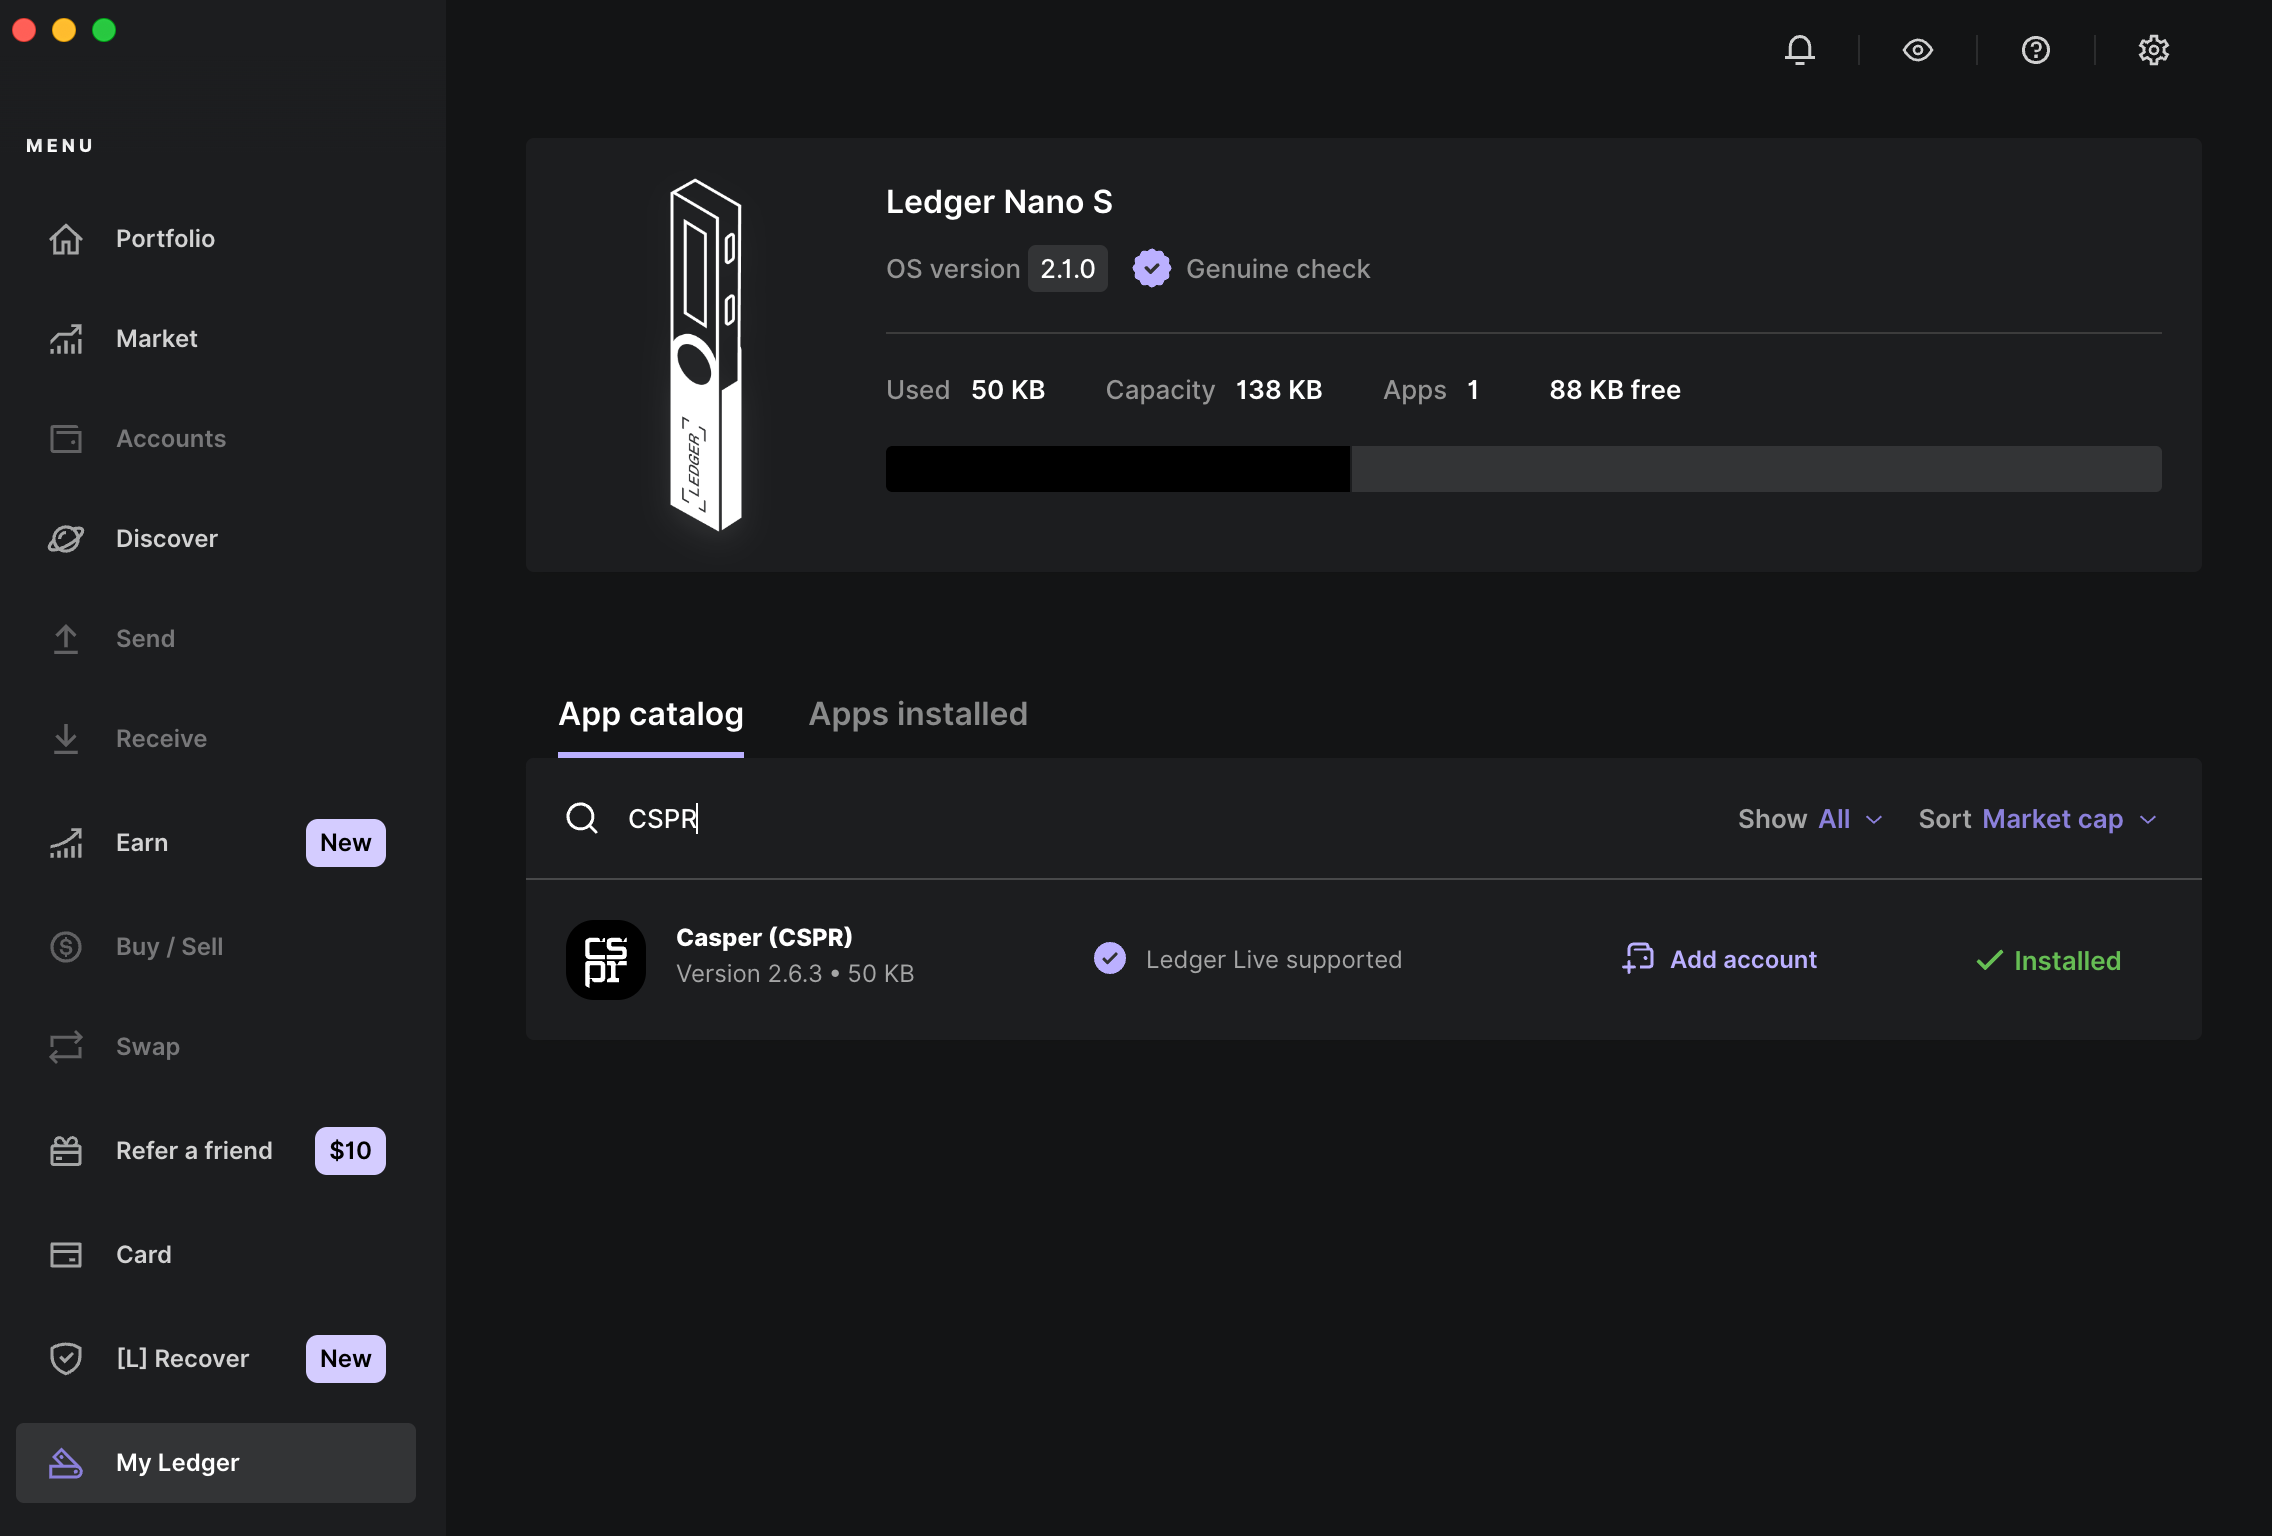
- To import a Casper account from the Ledger device into the Ledger Live application, click on the Add account link.

- Open the Casper app on your Ledger device.
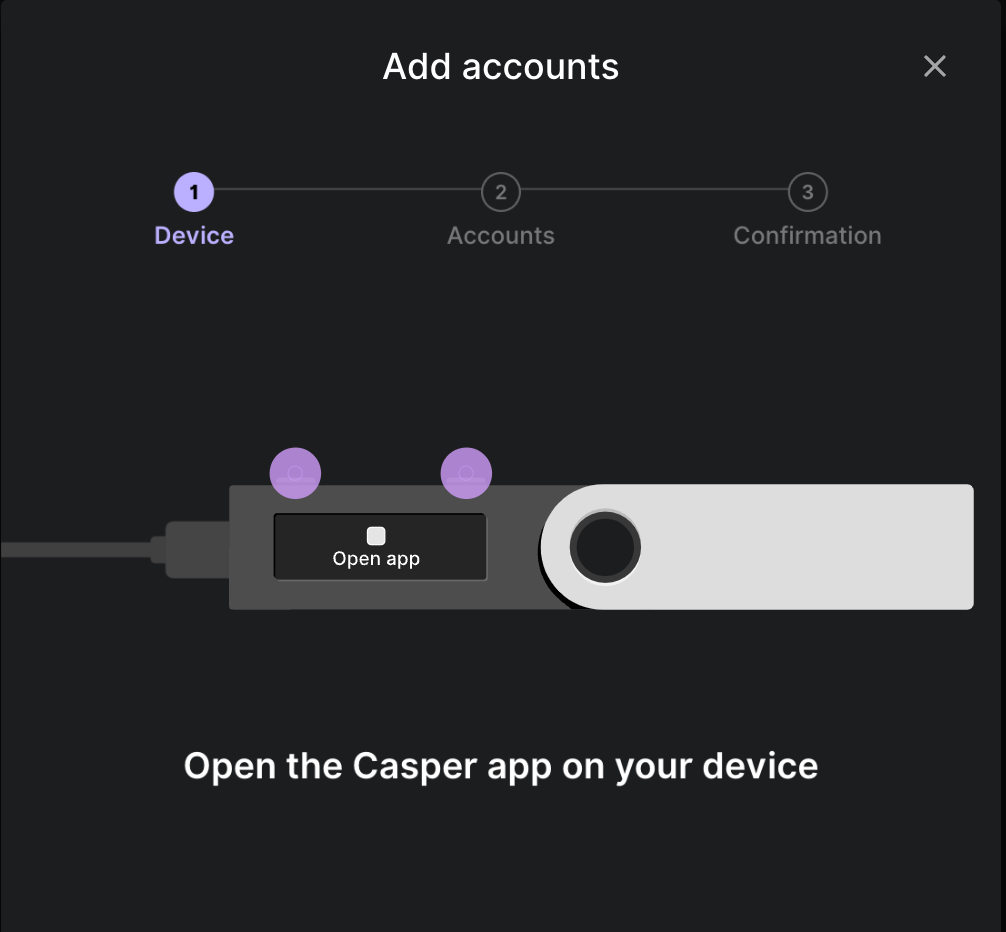
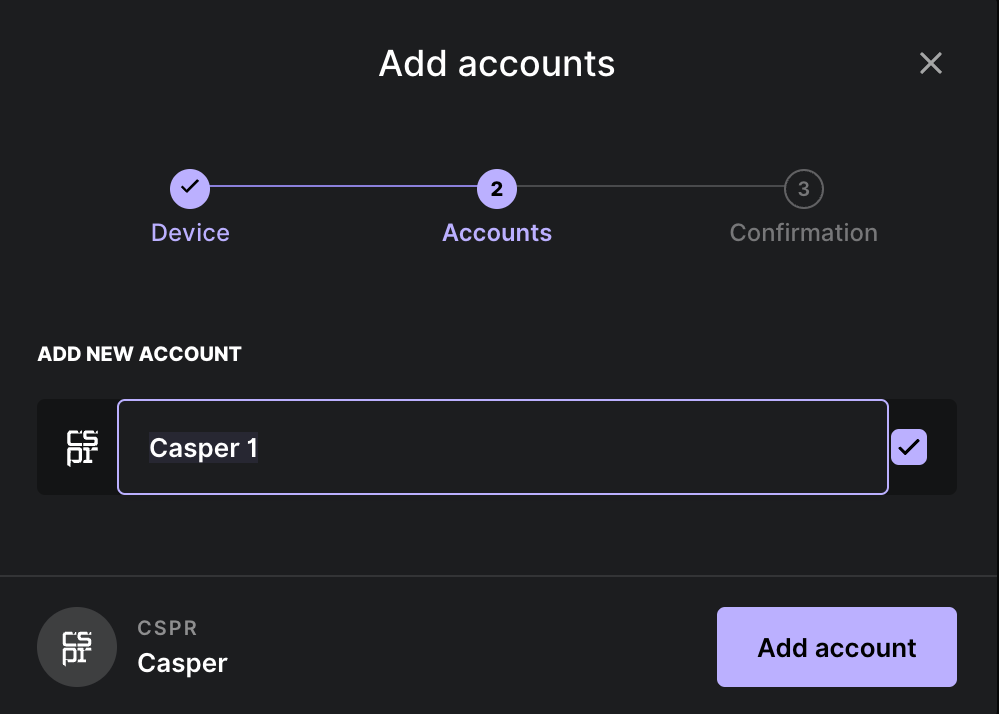
- Ledger Live will import the first account listed on your Ledger device. Choose a name for the account.
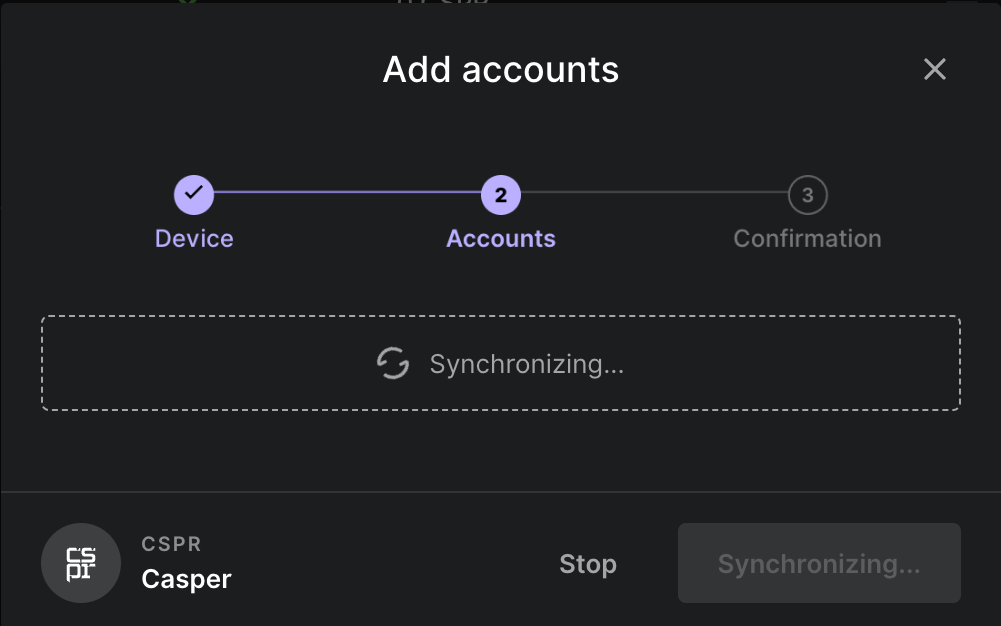
- After synchronizing the account, Ledger Live will confirm that the account was successfully added.
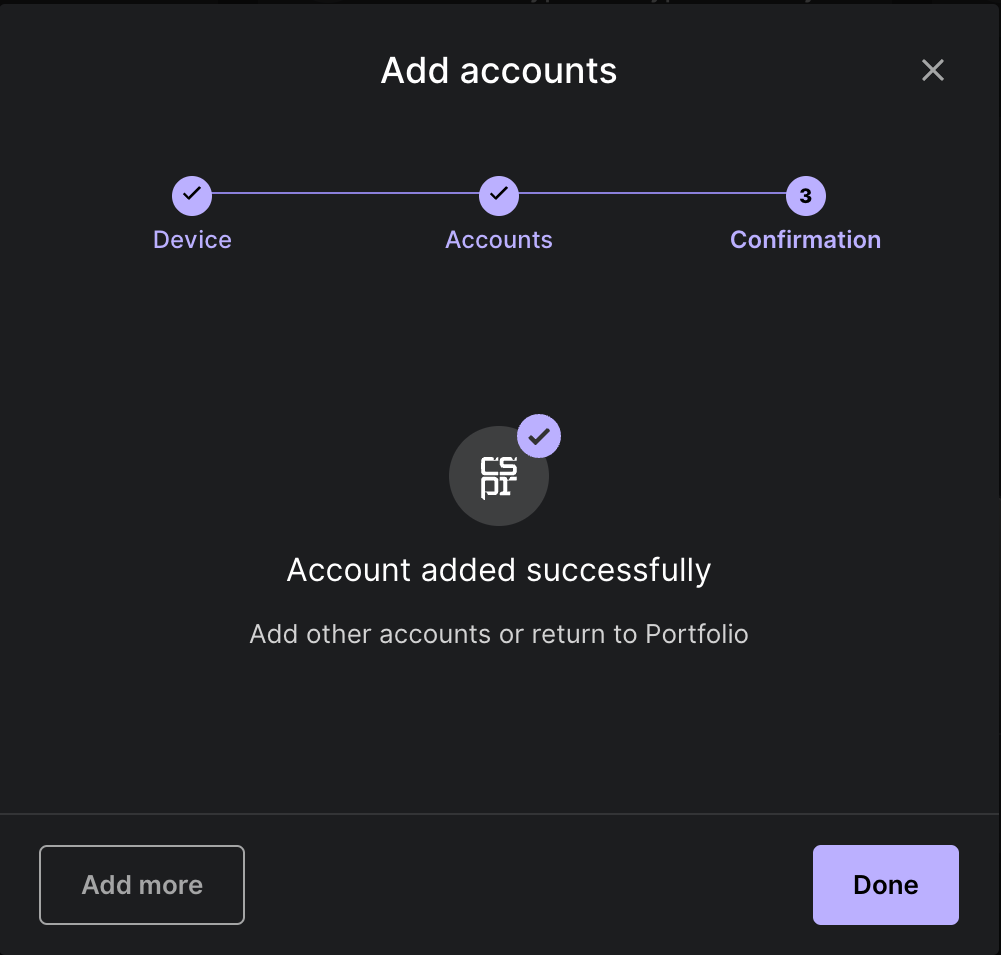
- Click on the account summary, to view more details.

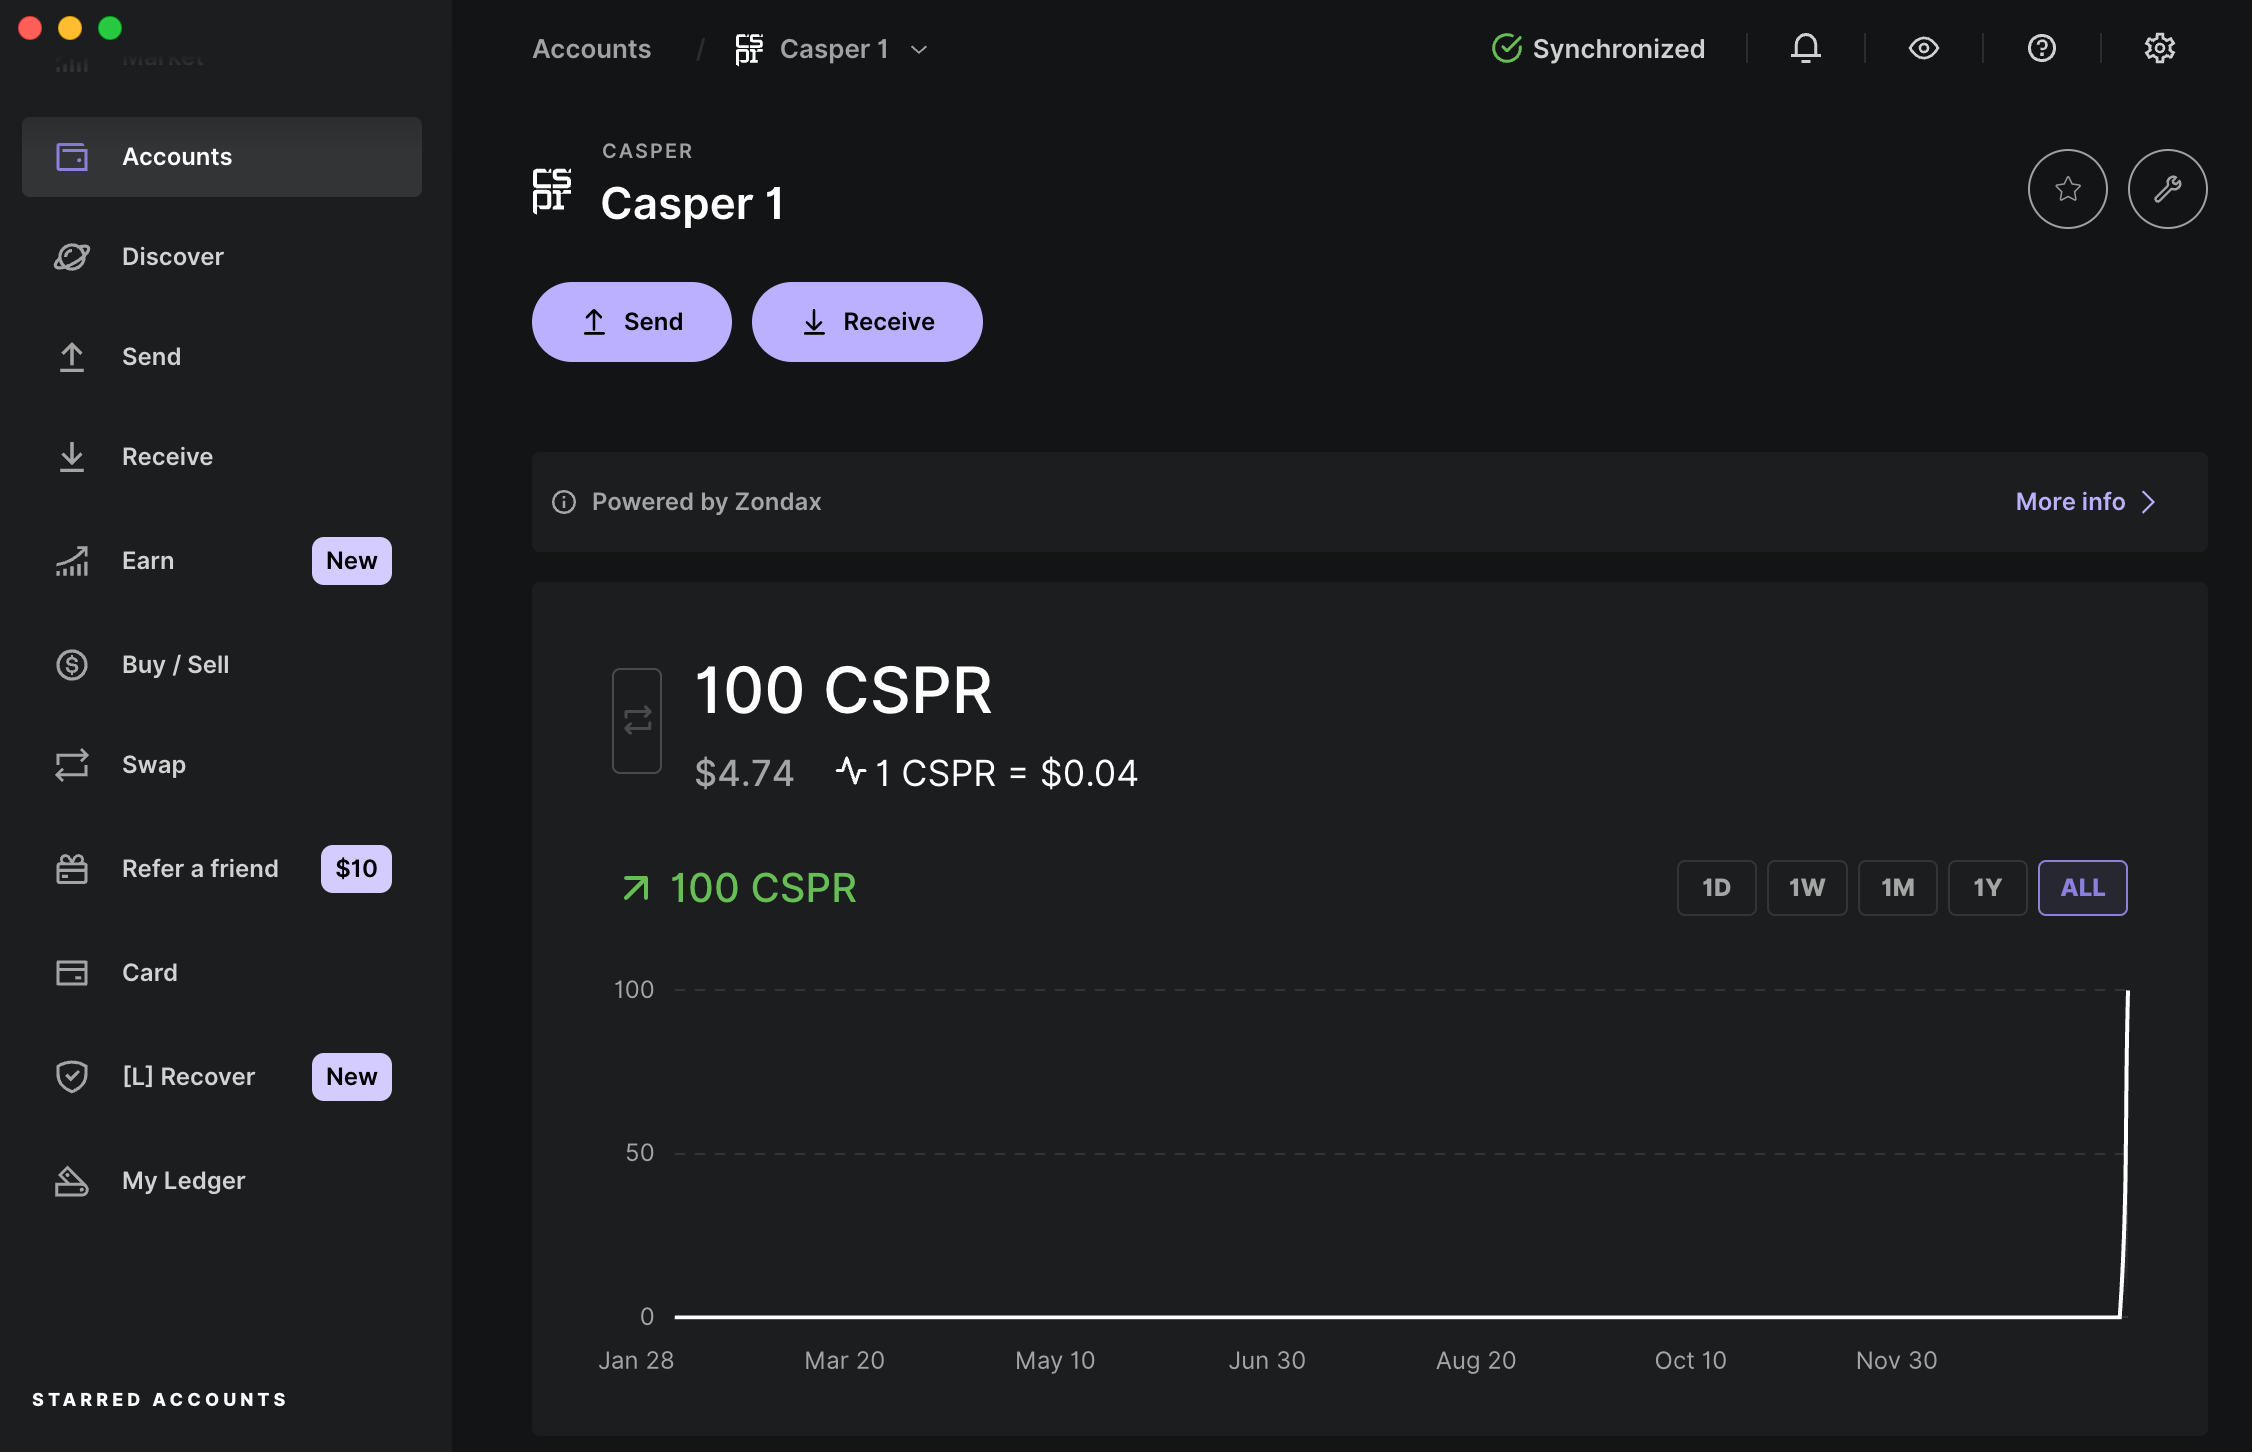
- To add another account, open the Account option in the left-side navigation bar. Then, click on the Add account button.

Receiving Tokens
To receive tokens, you need to provide the sender with your account's public key.
Casper accounts only support CSPR tokens. Sending other tokens to a Casper account may result in the permanent loss of funds.
- Click on the Receive option in the left-side navigation bar.
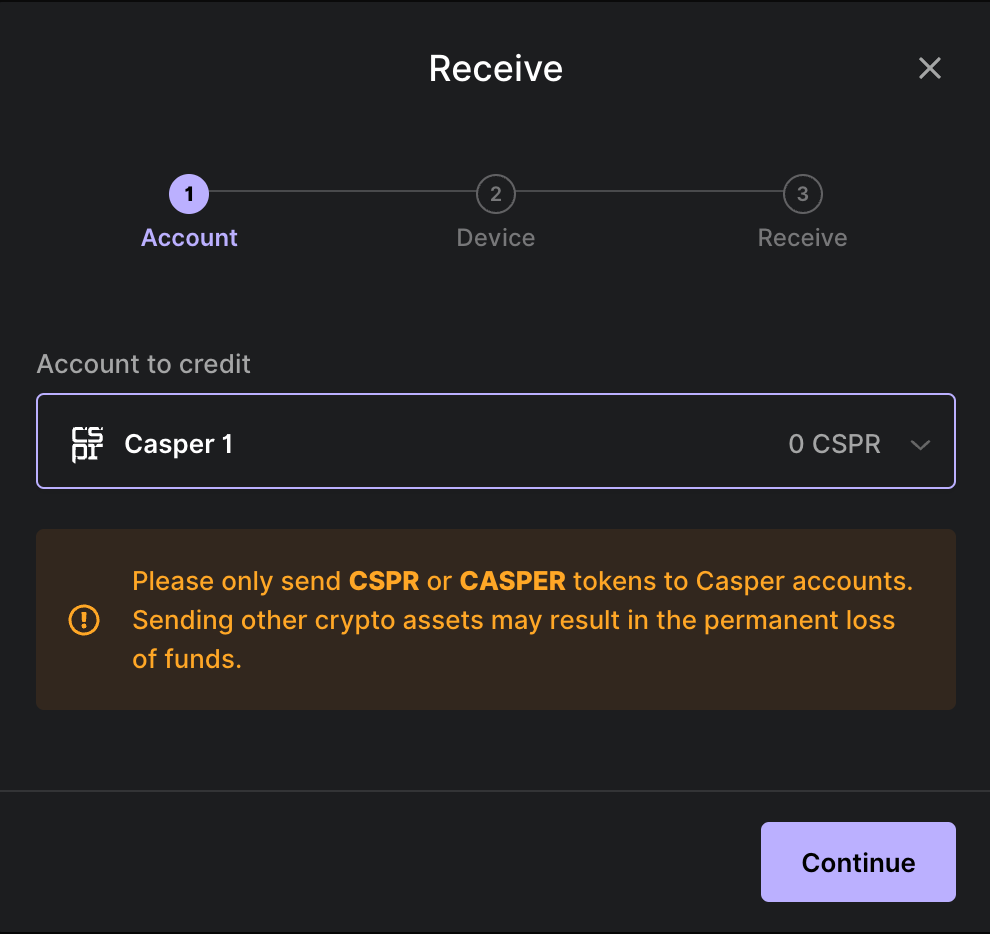
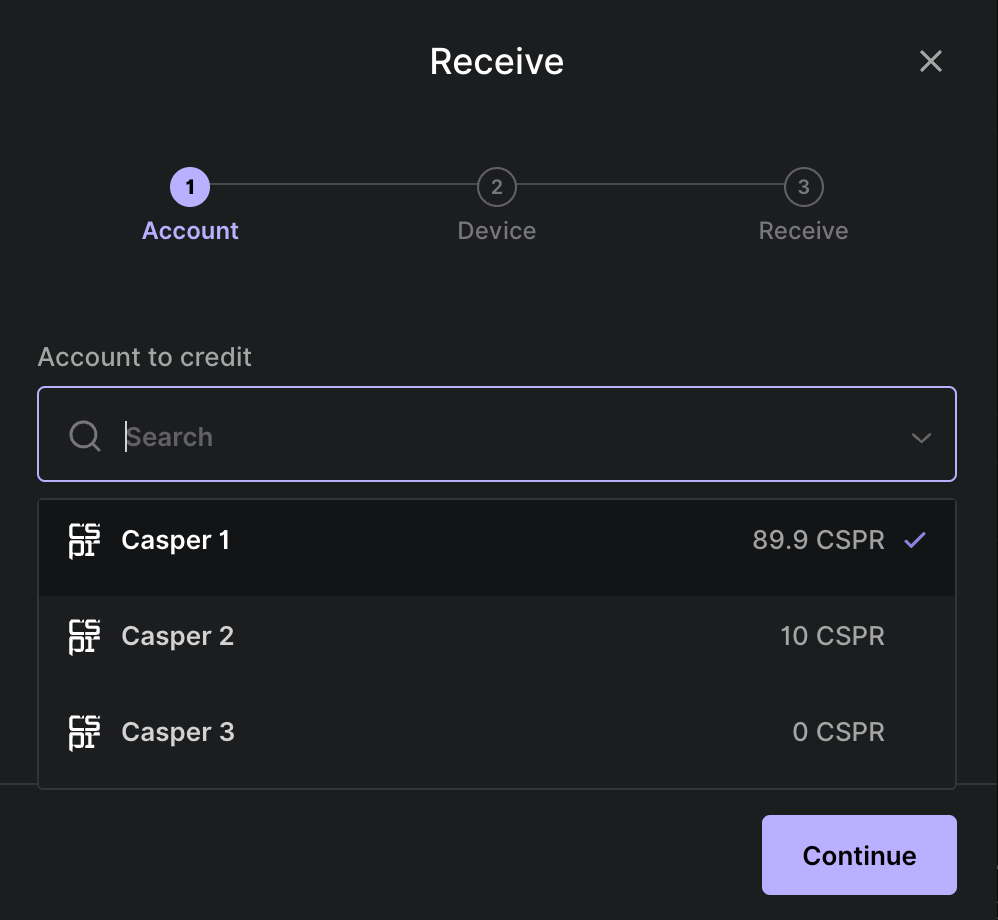
- Choose an account from the drop-down list.
- Copy the address displayed, or use the corresponding QR code.
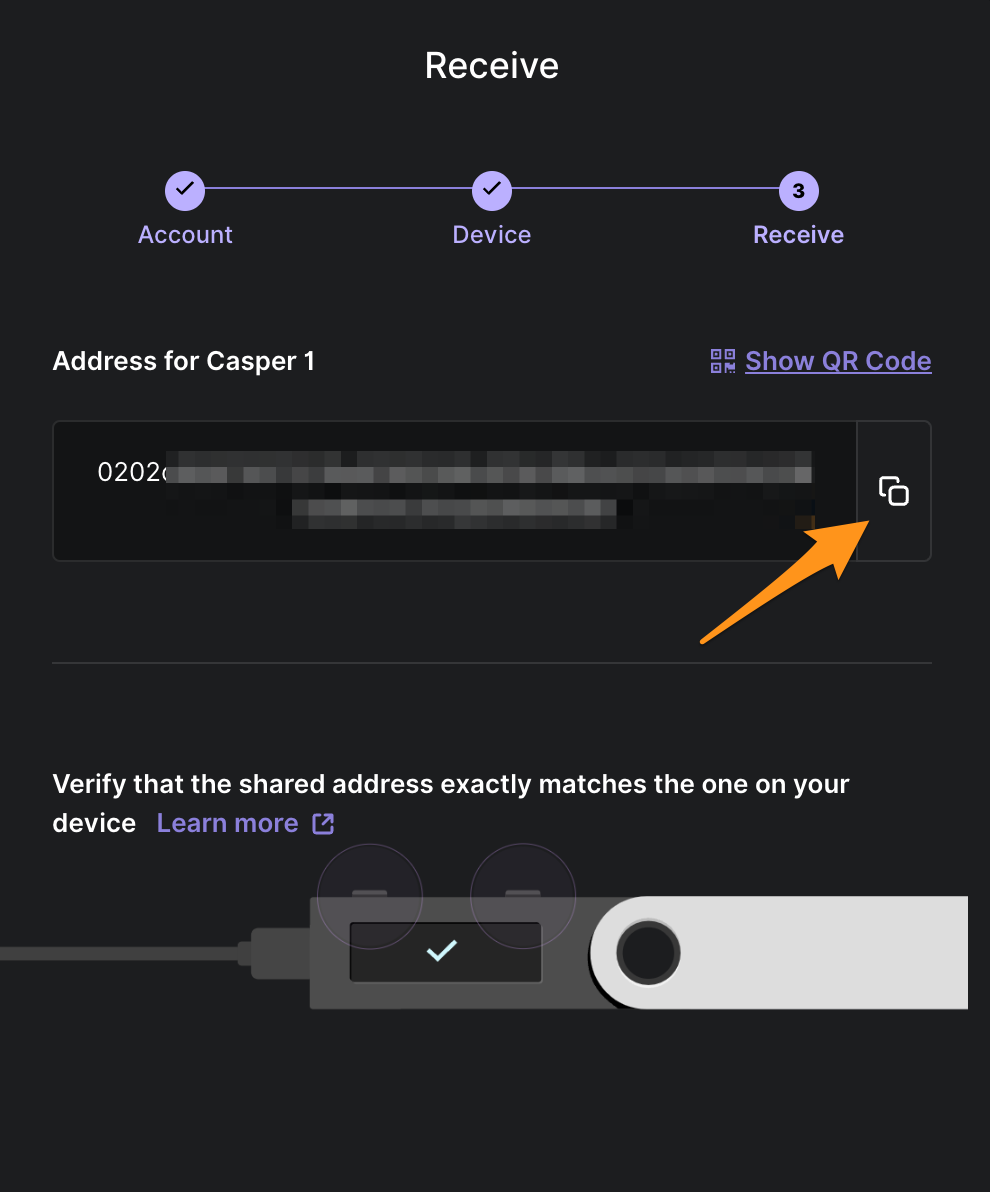
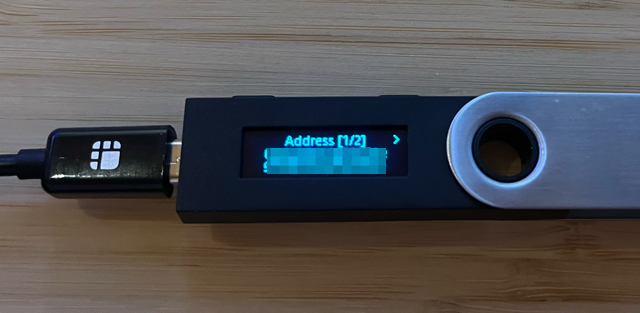
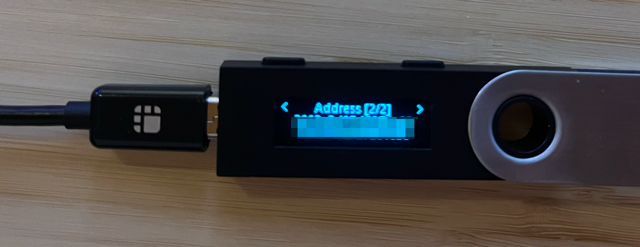
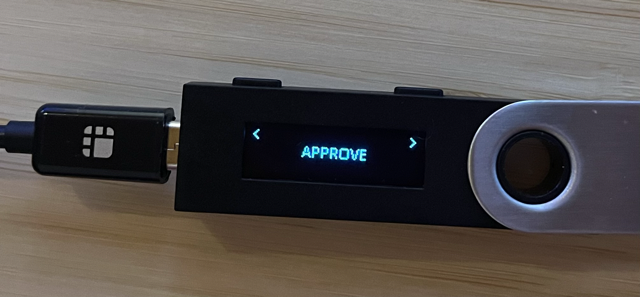
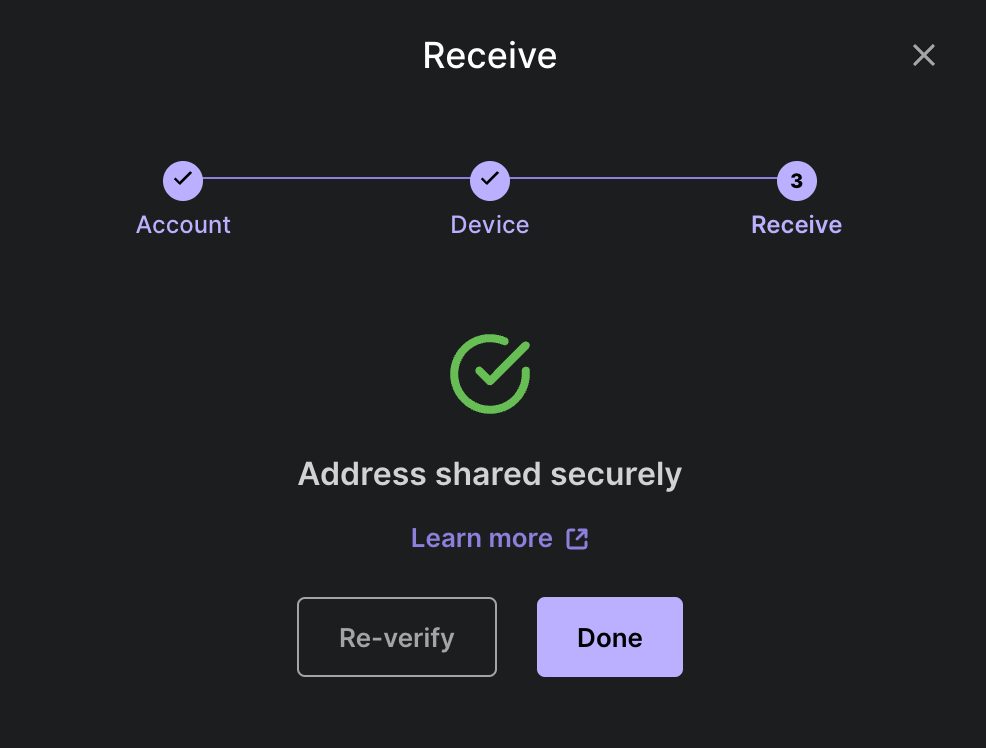
- Verify that the address displayed in Ledger Live matches the address on your Ledger screen. If it does, click APPROVE.
Sending Tokens
Ledger Live supports sending CSPR tokens from one Casper account to another.
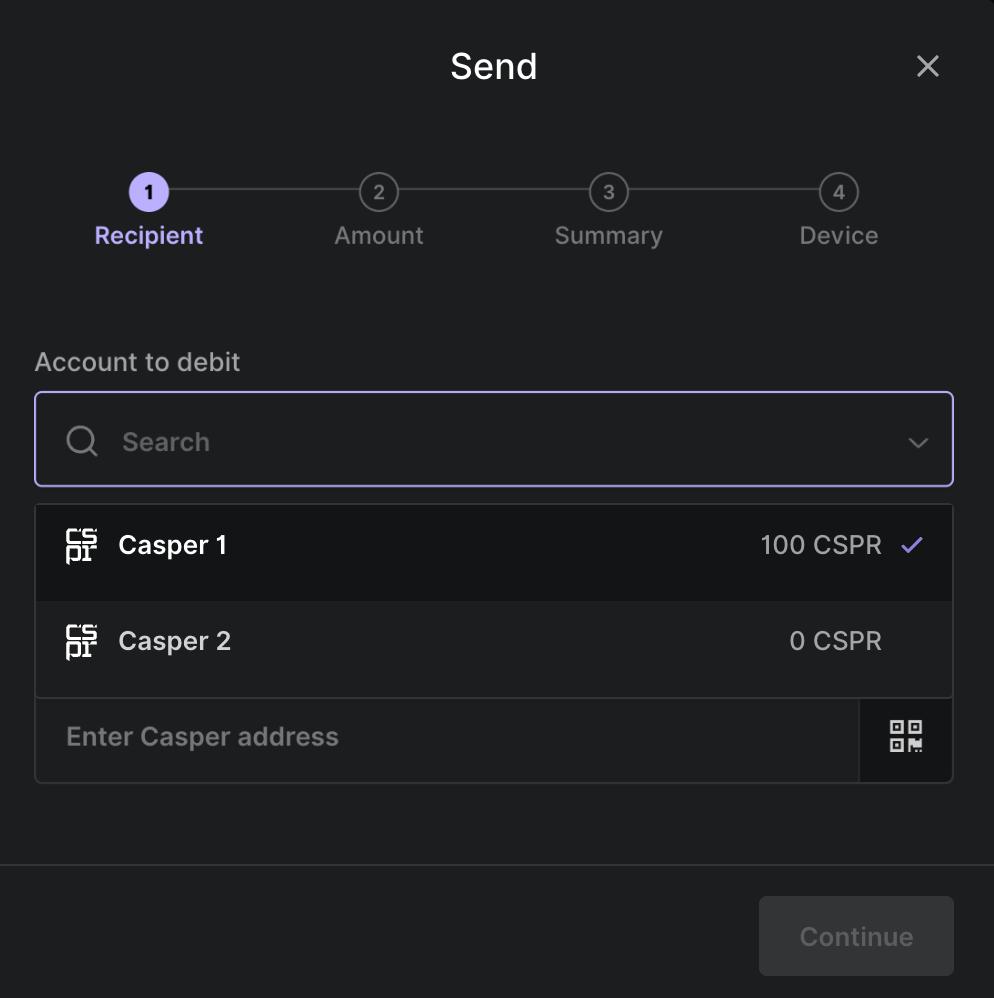
- Start by clicking on the Send option in the left-side navigation bar. Choose the account to debit:
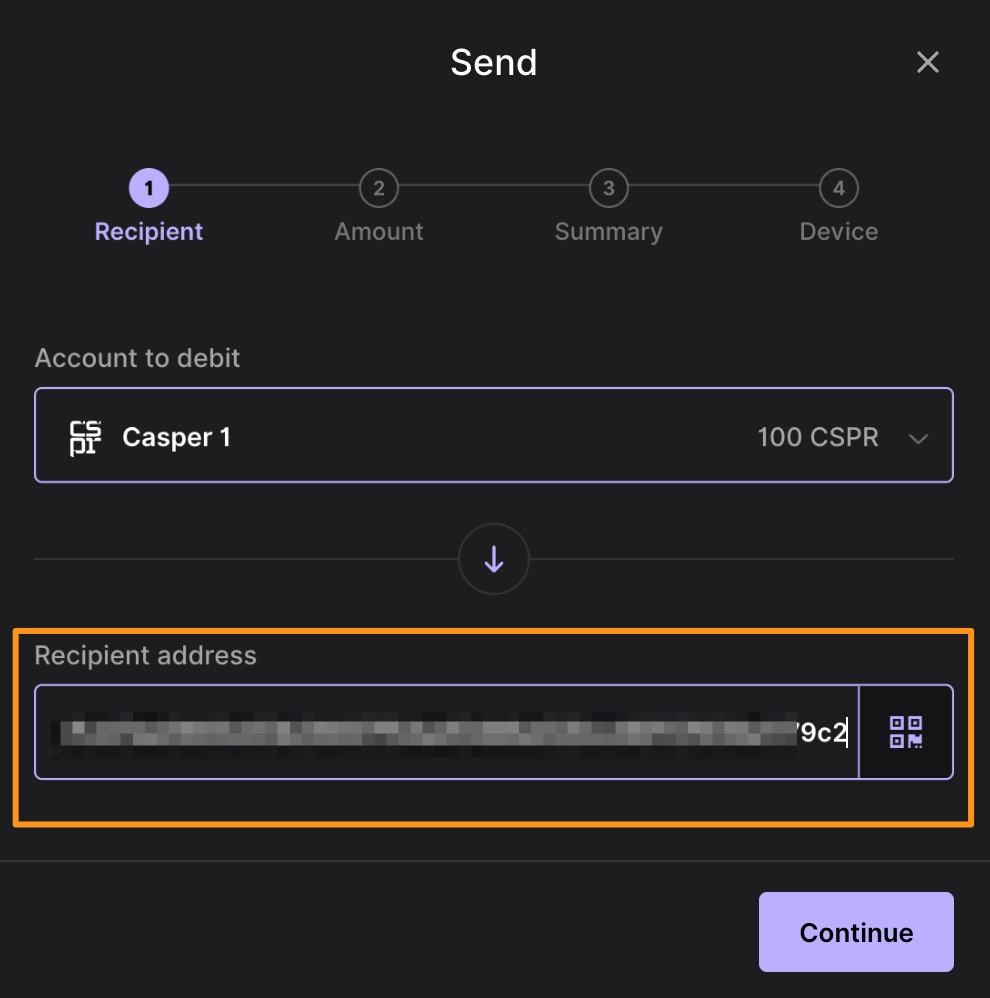
- Enter the recipient's address and click Continue.
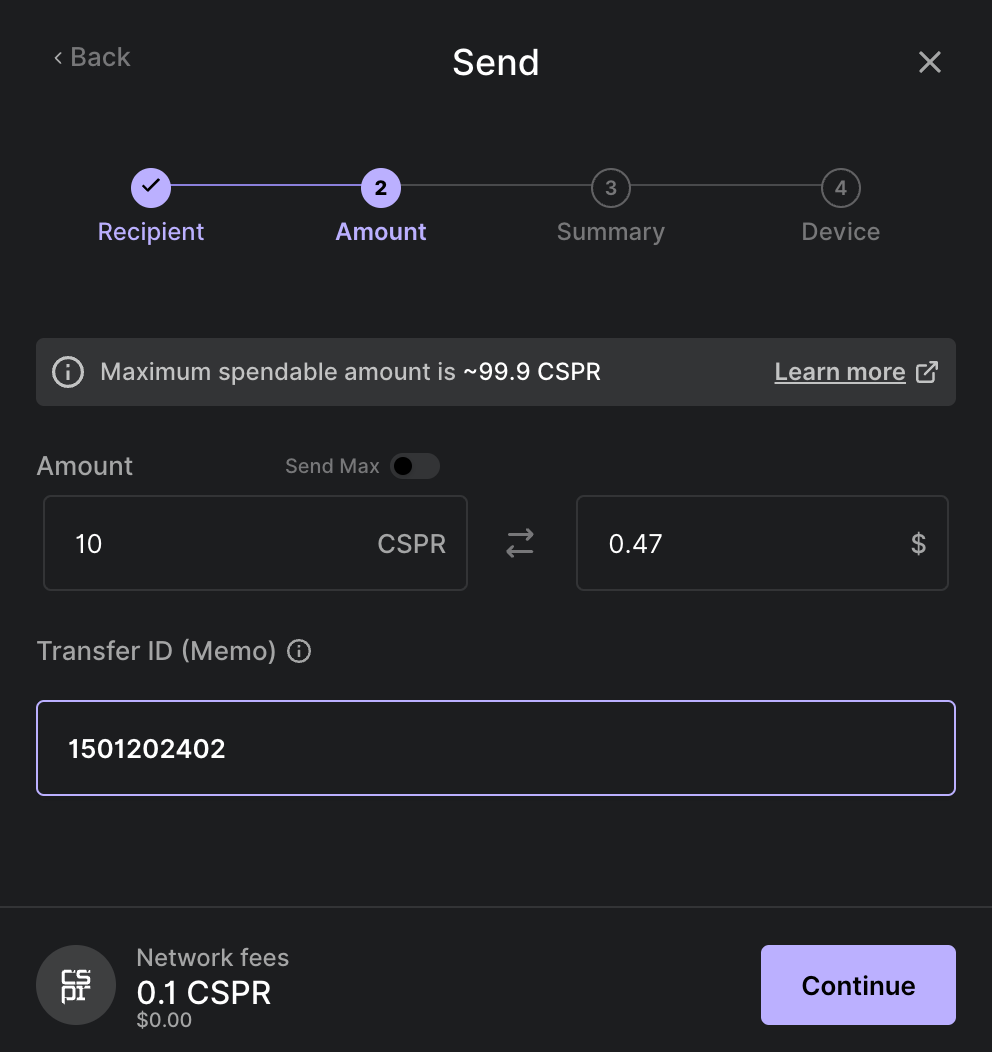
- Enter the amount and an optional transfer ID. Click Continue.
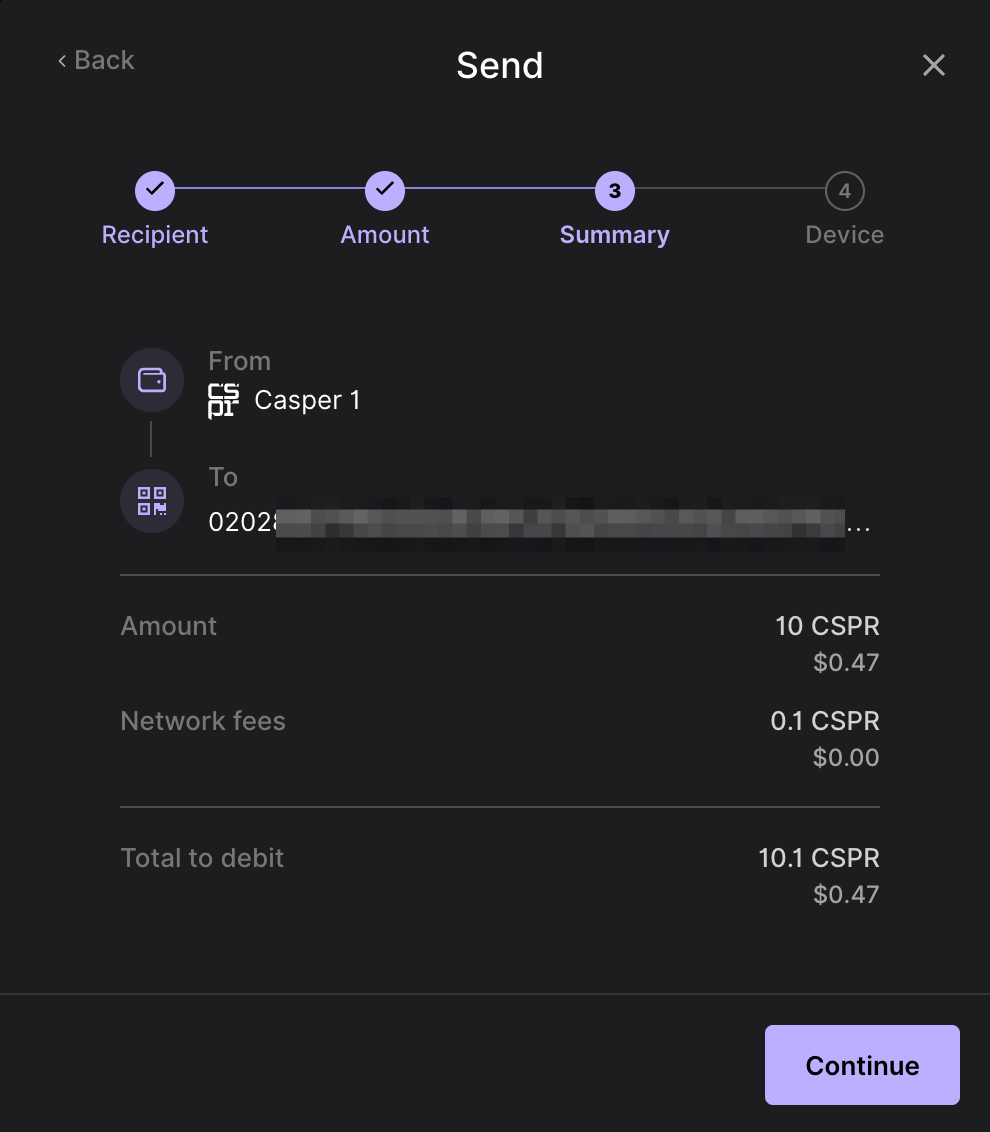
- Review the summary, and if everything is correct, click Continue. Otherwise, click the Back link in the top-left corner.
- Your Ledger hardware wallet will present you with the transfer details. Verify the transaction hash, chain ID, source account, fee, target, and amount. Meanwhile, Ledger Live will display this message:
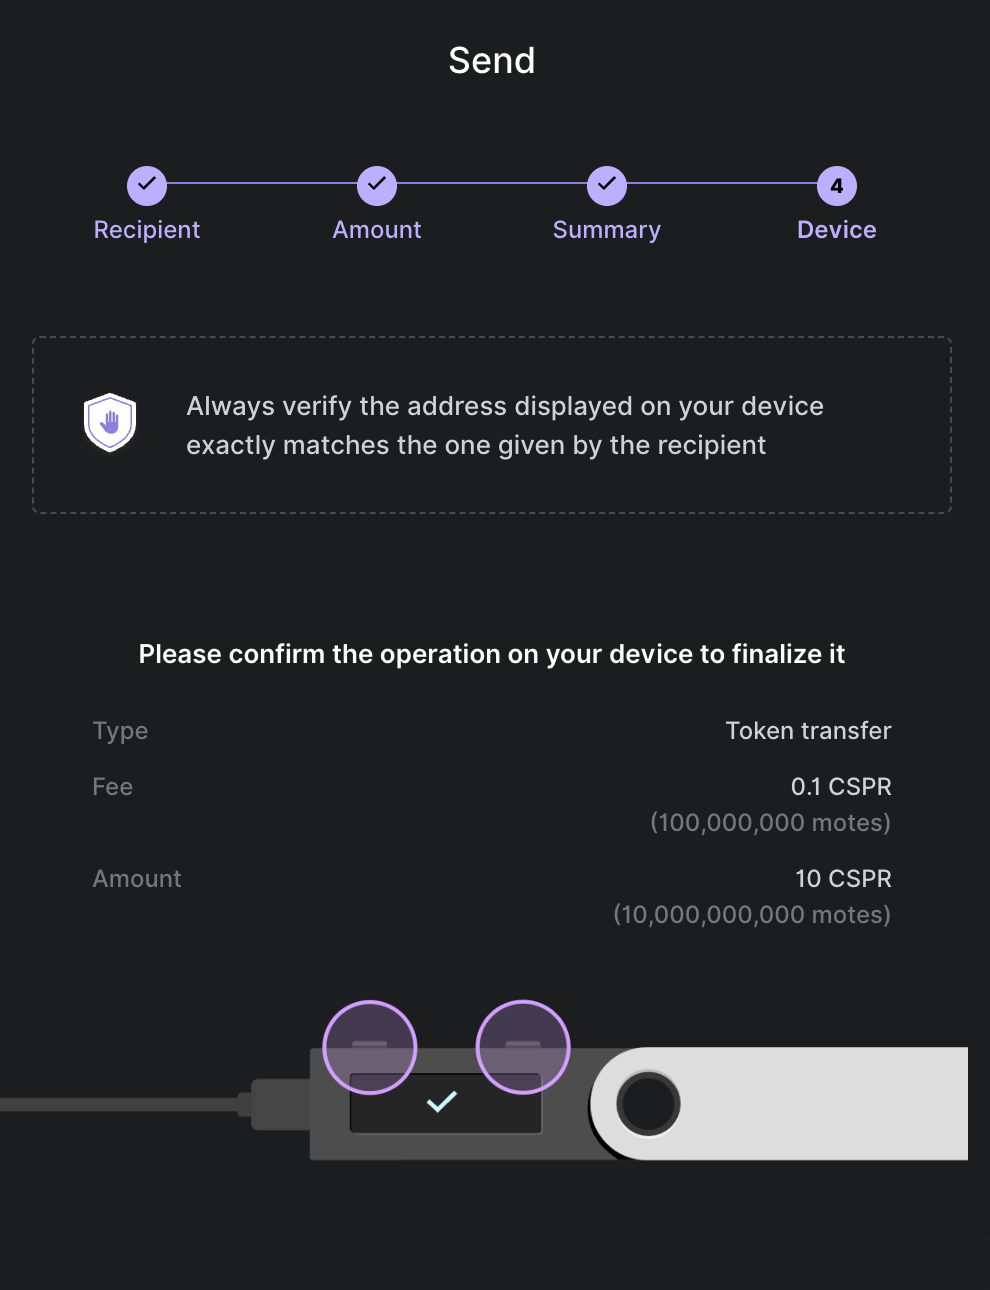
Verify the transaction on your Ledger device
Press the right button on your Ledger Device to review the transaction details until you see "APPROVE".
- Review the Txn hash.
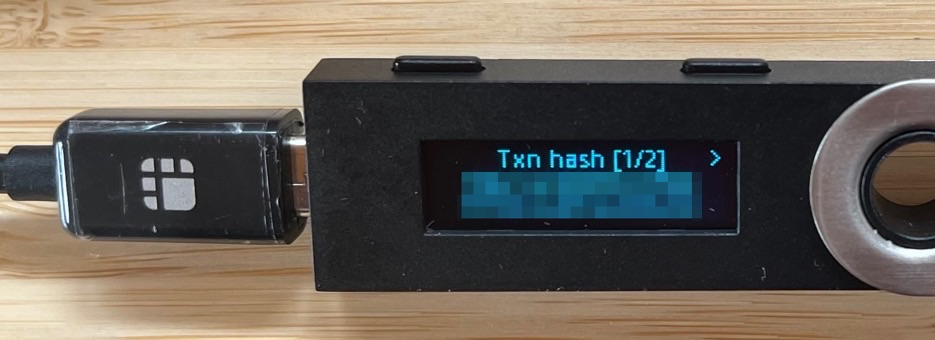
The Txn hash value continues on a second screen.
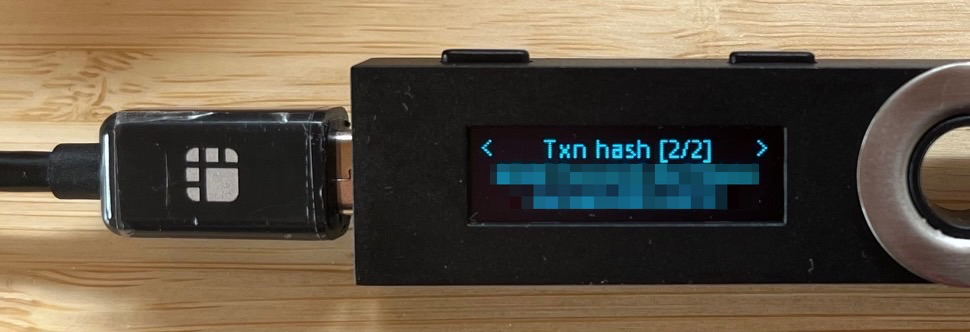
- The next screen displays the transaction Type, which will be Token transfer.

- Verify the chain ID, which for Mainnet should be casper.
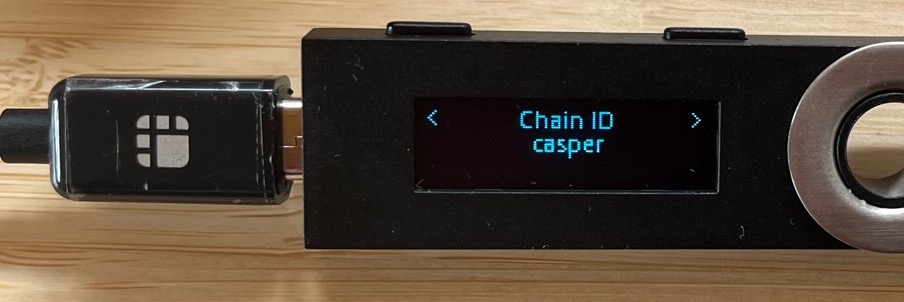
- Verify the Account initiating the token transfer.

The Account value continues on a second screen.
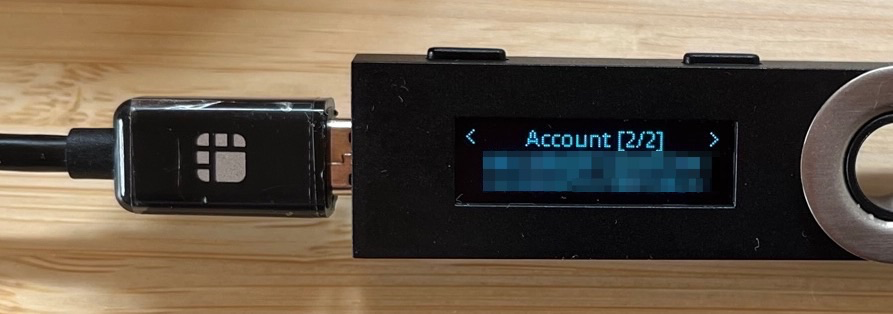
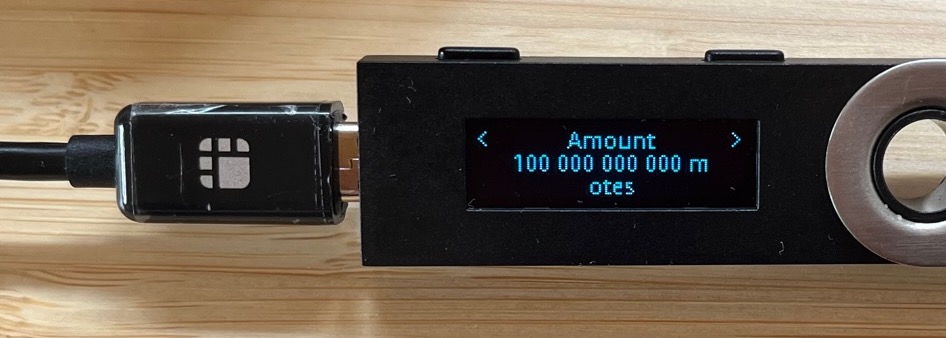
- Verify the Fee. For CSPR token transfers, that value should be constant and equal to 100,000,000 motes = 0.1 CSPR.

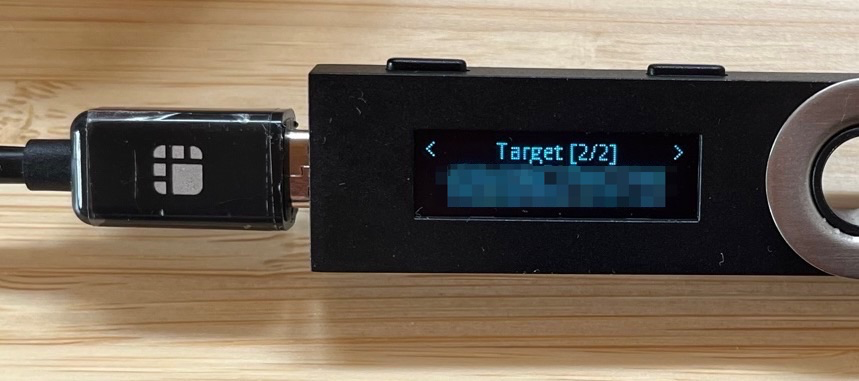
- Verify the Target, which is the recipient's public key.
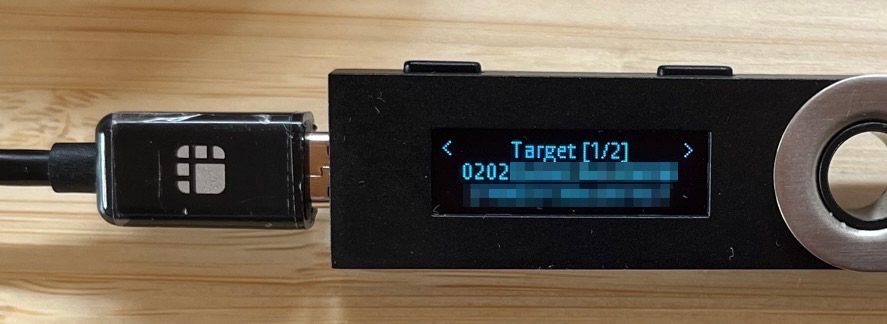
The Target value continues on a second screen.
- Verify the Amount you want to transfer.
- If you want to approve the transaction, click both buttons on the Ledger device while on the APPROVE screen.
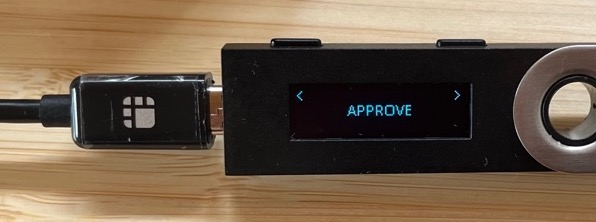
- After approving the transaction with your Ledger hardware wallet, Ledger Live will display the following windows:
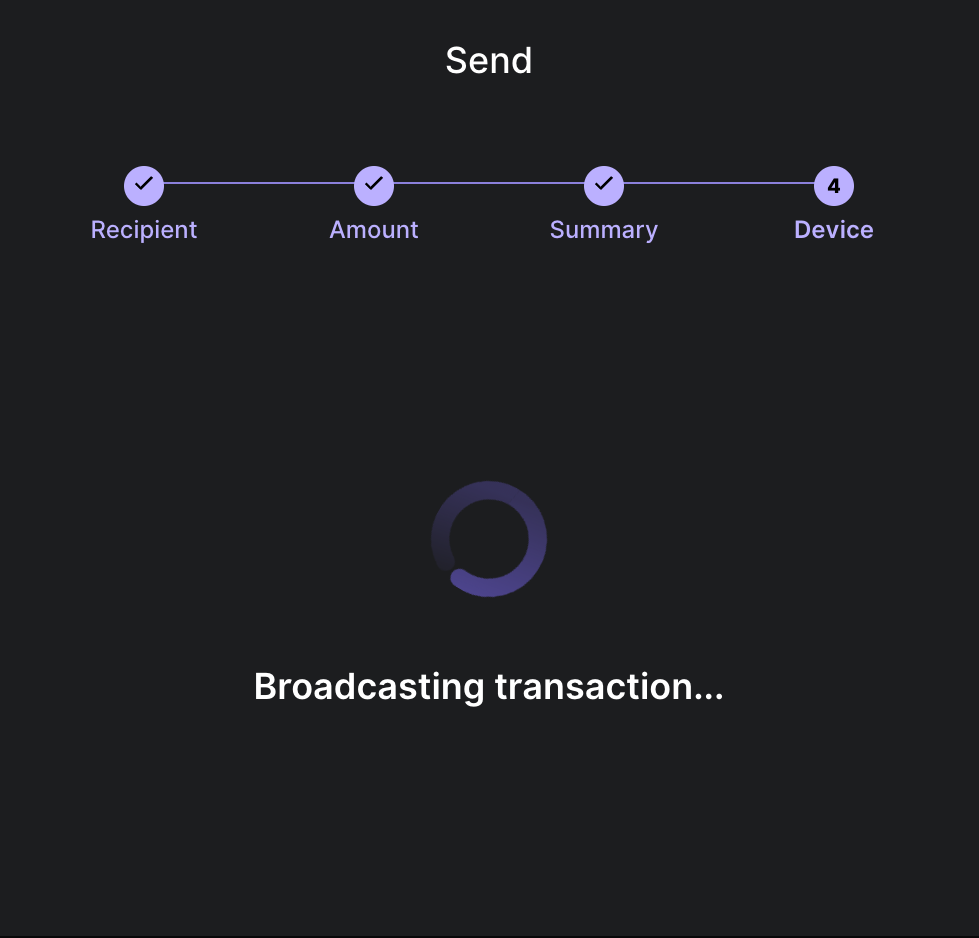
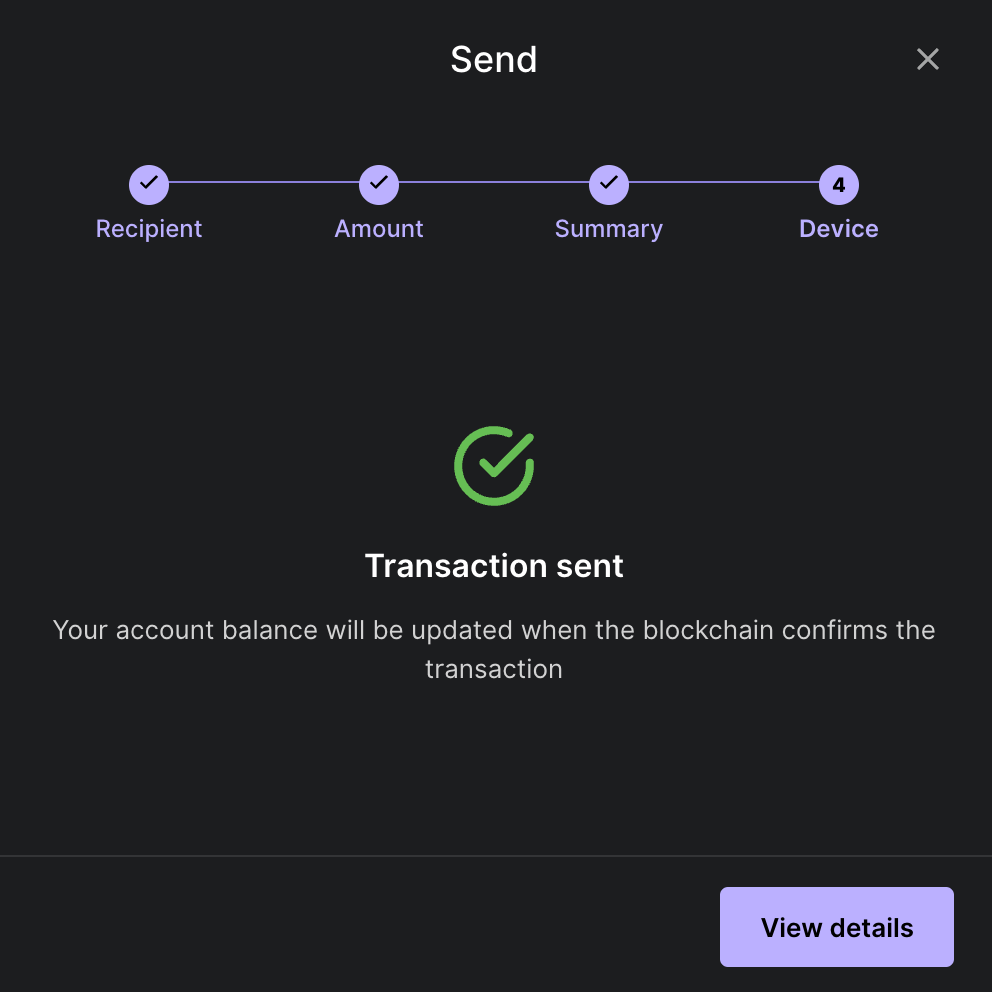
- To view the transaction details, click on the View details button. The following screen will appear:
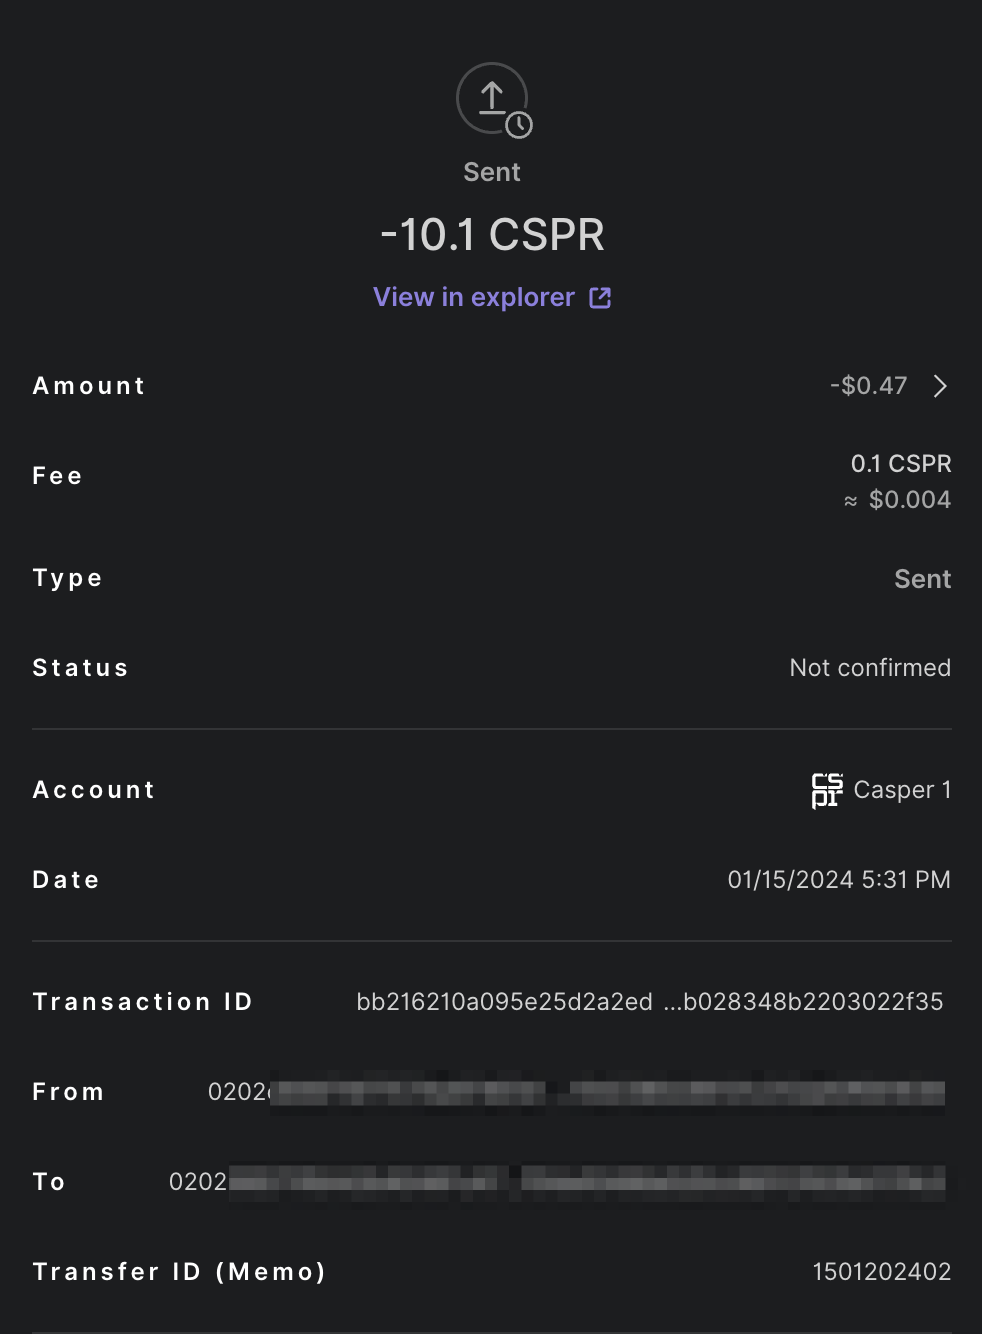
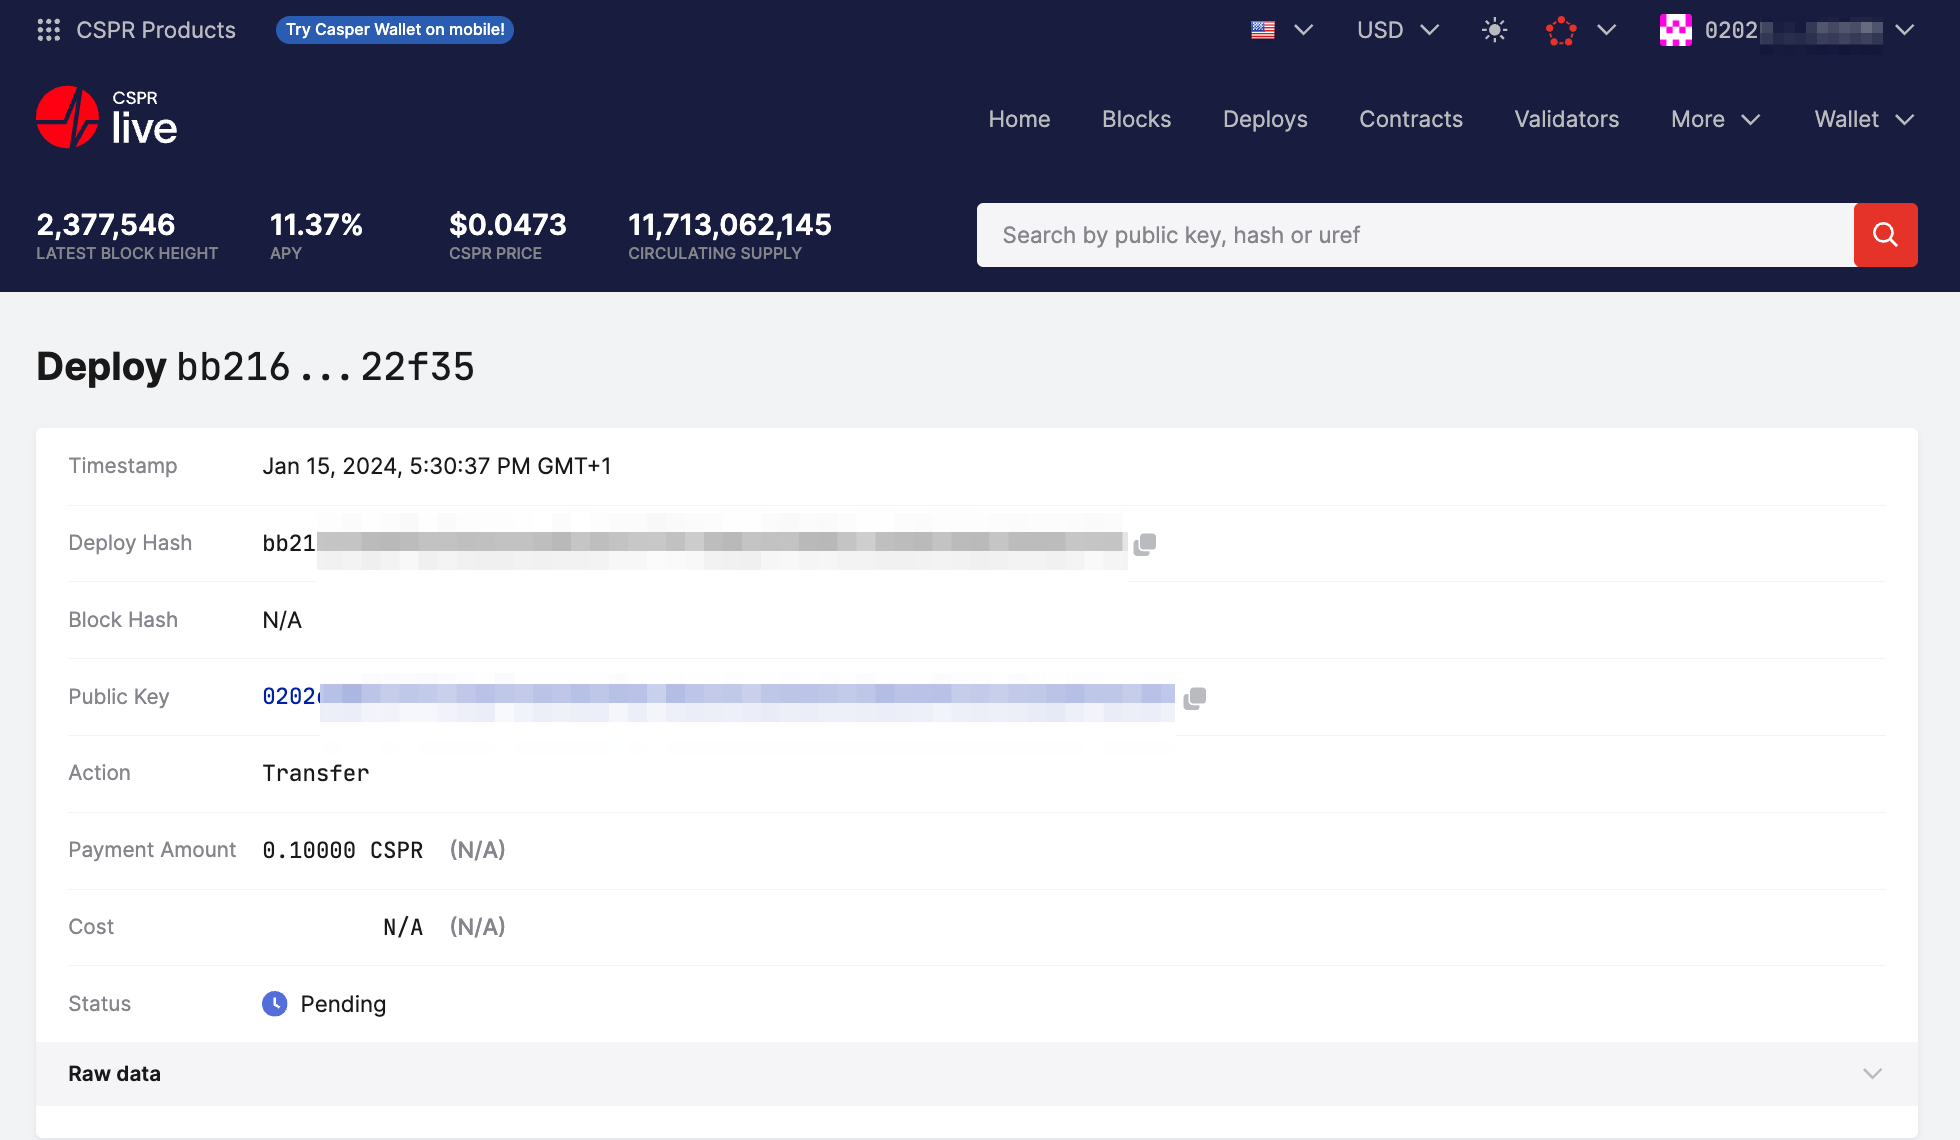
- You can view the transaction in the CSPR.live block explorer by clicking on the View in explorer link.
